Coffee is more than just a drink—it’s an experience. From the rich aroma that fills the air to the soothing warmth in every sip, coffee has a way of engaging our senses. But did you know that there’s an entire art form dedicated to making your coffee look as good as it tastes? This art form is known as latte art, and it involves creating intricate designs and patterns on the surface of your coffee using milk foam.
Latte art has gained immense popularity over the years, transforming an ordinary cup of coffee into a visually stunning masterpiece. Whether you’re a professional barista or a home coffee enthusiast, learning the basics of latte art can elevate your coffee-making skills and impress your friends and family. In this article, we’ll explore the essentials of latte art and provide step-by-step instructions on how to create beautiful designs with milk foam.
What is Latte Art?
Latte art is the practice of pouring steamed milk into a cup of espresso and manipulating the milk to form a design or pattern on the surface. This art form is created by using the contrast between the dark espresso and the light, creamy milk foam to create intricate shapes and designs.
The two most common types of latte art are:
- Free Pouring: This involves pouring steamed milk into the espresso in a controlled manner to create patterns such as hearts, rosettas, and tulips. This style requires a steady hand and good technique.
- Etching: This technique involves using a tool (usually a fine-tipped stick or needle) to draw designs into the milk foam after pouring. Etching allows for more detailed designs like animals, faces, or more complex patterns.
Free pouring is the most commonly practiced form of latte art in coffee shops, but both techniques can be used to create visually stunning designs.
The Essential Tools for Latte Art
Before diving into the steps of making latte art, it’s important to have the right tools. Here’s what you’ll need:
- Espresso Machine: You’ll need an espresso machine with a steam wand to properly froth the milk. An espresso machine allows you to brew the strong, concentrated coffee base that’s essential for latte art.
- Milk Frothing Pitcher: A metal frothing pitcher is used to steam and pour the milk. The spout of the pitcher should be narrow and pointy, as it helps in creating precise designs while pouring.
- Steamed Milk: The milk must be steamed to the right texture to create the perfect foam. Whole milk is commonly used for its ability to create smooth, velvety foam, but you can experiment with other milk options, such as oat or almond milk.
- Espresso: A good shot of espresso is the foundation for latte art. Make sure you use freshly ground coffee and a quality espresso machine to create a rich, bold base for the art.
Now that you have the necessary tools, let’s dive into how to create your first beautiful latte art design!
Step-by-Step Guide to Creating Latte Art
Creating latte art takes practice, but with patience, you can learn to master this impressive skill. Follow these steps to start creating beautiful designs with milk foam.
1. Brew the Perfect Espresso Shot
The first step in making latte art is to brew the espresso. A perfect espresso shot should have a rich, dark crema on top, which provides the contrast needed for creating art.
- Grind your coffee beans to a fine consistency, just right for espresso.
- Tamp the coffee grounds evenly into the portafilter and lock it into the machine.
- Brew the espresso shot and ensure it flows evenly into your cup. A well-brewed espresso shot will have a smooth, creamy layer of crema on top.
A good espresso shot is crucial for latte art, as the crema will create a canvas for your milk design.
2. Steam the Milk
Steaming the milk is the next step. You’ll want to create a velvety, microfoam texture that’s smooth and silky. Here’s how to steam milk properly:
- Pour cold milk (preferably whole milk) into a frothing pitcher, filling it about one-third of the way.
- Insert the steam wand just beneath the surface of the milk and turn it on. As the milk starts to heat up, gently lower the pitcher to introduce air into the milk. This creates the frothy, creamy texture you need for latte art.
- Once the milk has reached around 150°F (65°C), turn off the steam wand. The milk should have a silky, smooth texture, with no large bubbles. Tap the pitcher on the counter to remove any remaining large bubbles, then swirl the milk gently to make sure it’s mixed evenly.
The goal is to achieve microfoam, which is a smooth, shiny foam that will allow you to pour beautiful designs.
3. Pouring the Latte Art
Now comes the fun part: pouring the latte art! Follow these steps to create your design:
- Hold the espresso cup steady and at a slight angle.
- Begin pouring the steamed milk into the center of the espresso, aiming for the middle of the cup.
- As the milk begins to mix with the espresso, increase the pour rate and move the pitcher closer to the surface of the coffee.
- For simple patterns like hearts, pour the milk in a controlled, slow motion, and as the cup fills, start to move the pitcher side to side to create the desired shape.
- For more complex patterns like rosettas, once the cup is half-filled, start moving the pitcher back and forth in a gentle “zig-zag” motion while slowly pouring. This creates the layered, fern-like pattern typical of a rosetta.
The key to pouring great latte art is practice. Start with simple designs like hearts, and as you become more comfortable, try more intricate patterns like rosettas and tulips.
4. Finishing Touches
Once you’ve poured your design, you can add finishing touches to perfect the look. If you want to enhance your latte art, you can:
- Etch: Use a fine-tipped tool (like a toothpick or a latte art pen) to draw extra details or refine the edges of your design. This is especially helpful for intricate designs like animals or faces.
- Add a sprinkle of cocoa or cinnamon: Lightly dust the top of the foam with cocoa powder or cinnamon to give your art an extra touch of flavor.
5. Practice Makes Perfect
It may take a few tries before you get your latte art looking just right. Don’t be discouraged! Every barista started somewhere, and mastering the art of pouring takes time and practice. You can improve your technique by experimenting with different milk frothing methods, adjusting your pouring speed, and trying various patterns.
Popular Latte Art Designs
Here are a few common latte art designs you can try once you’ve mastered the basics:
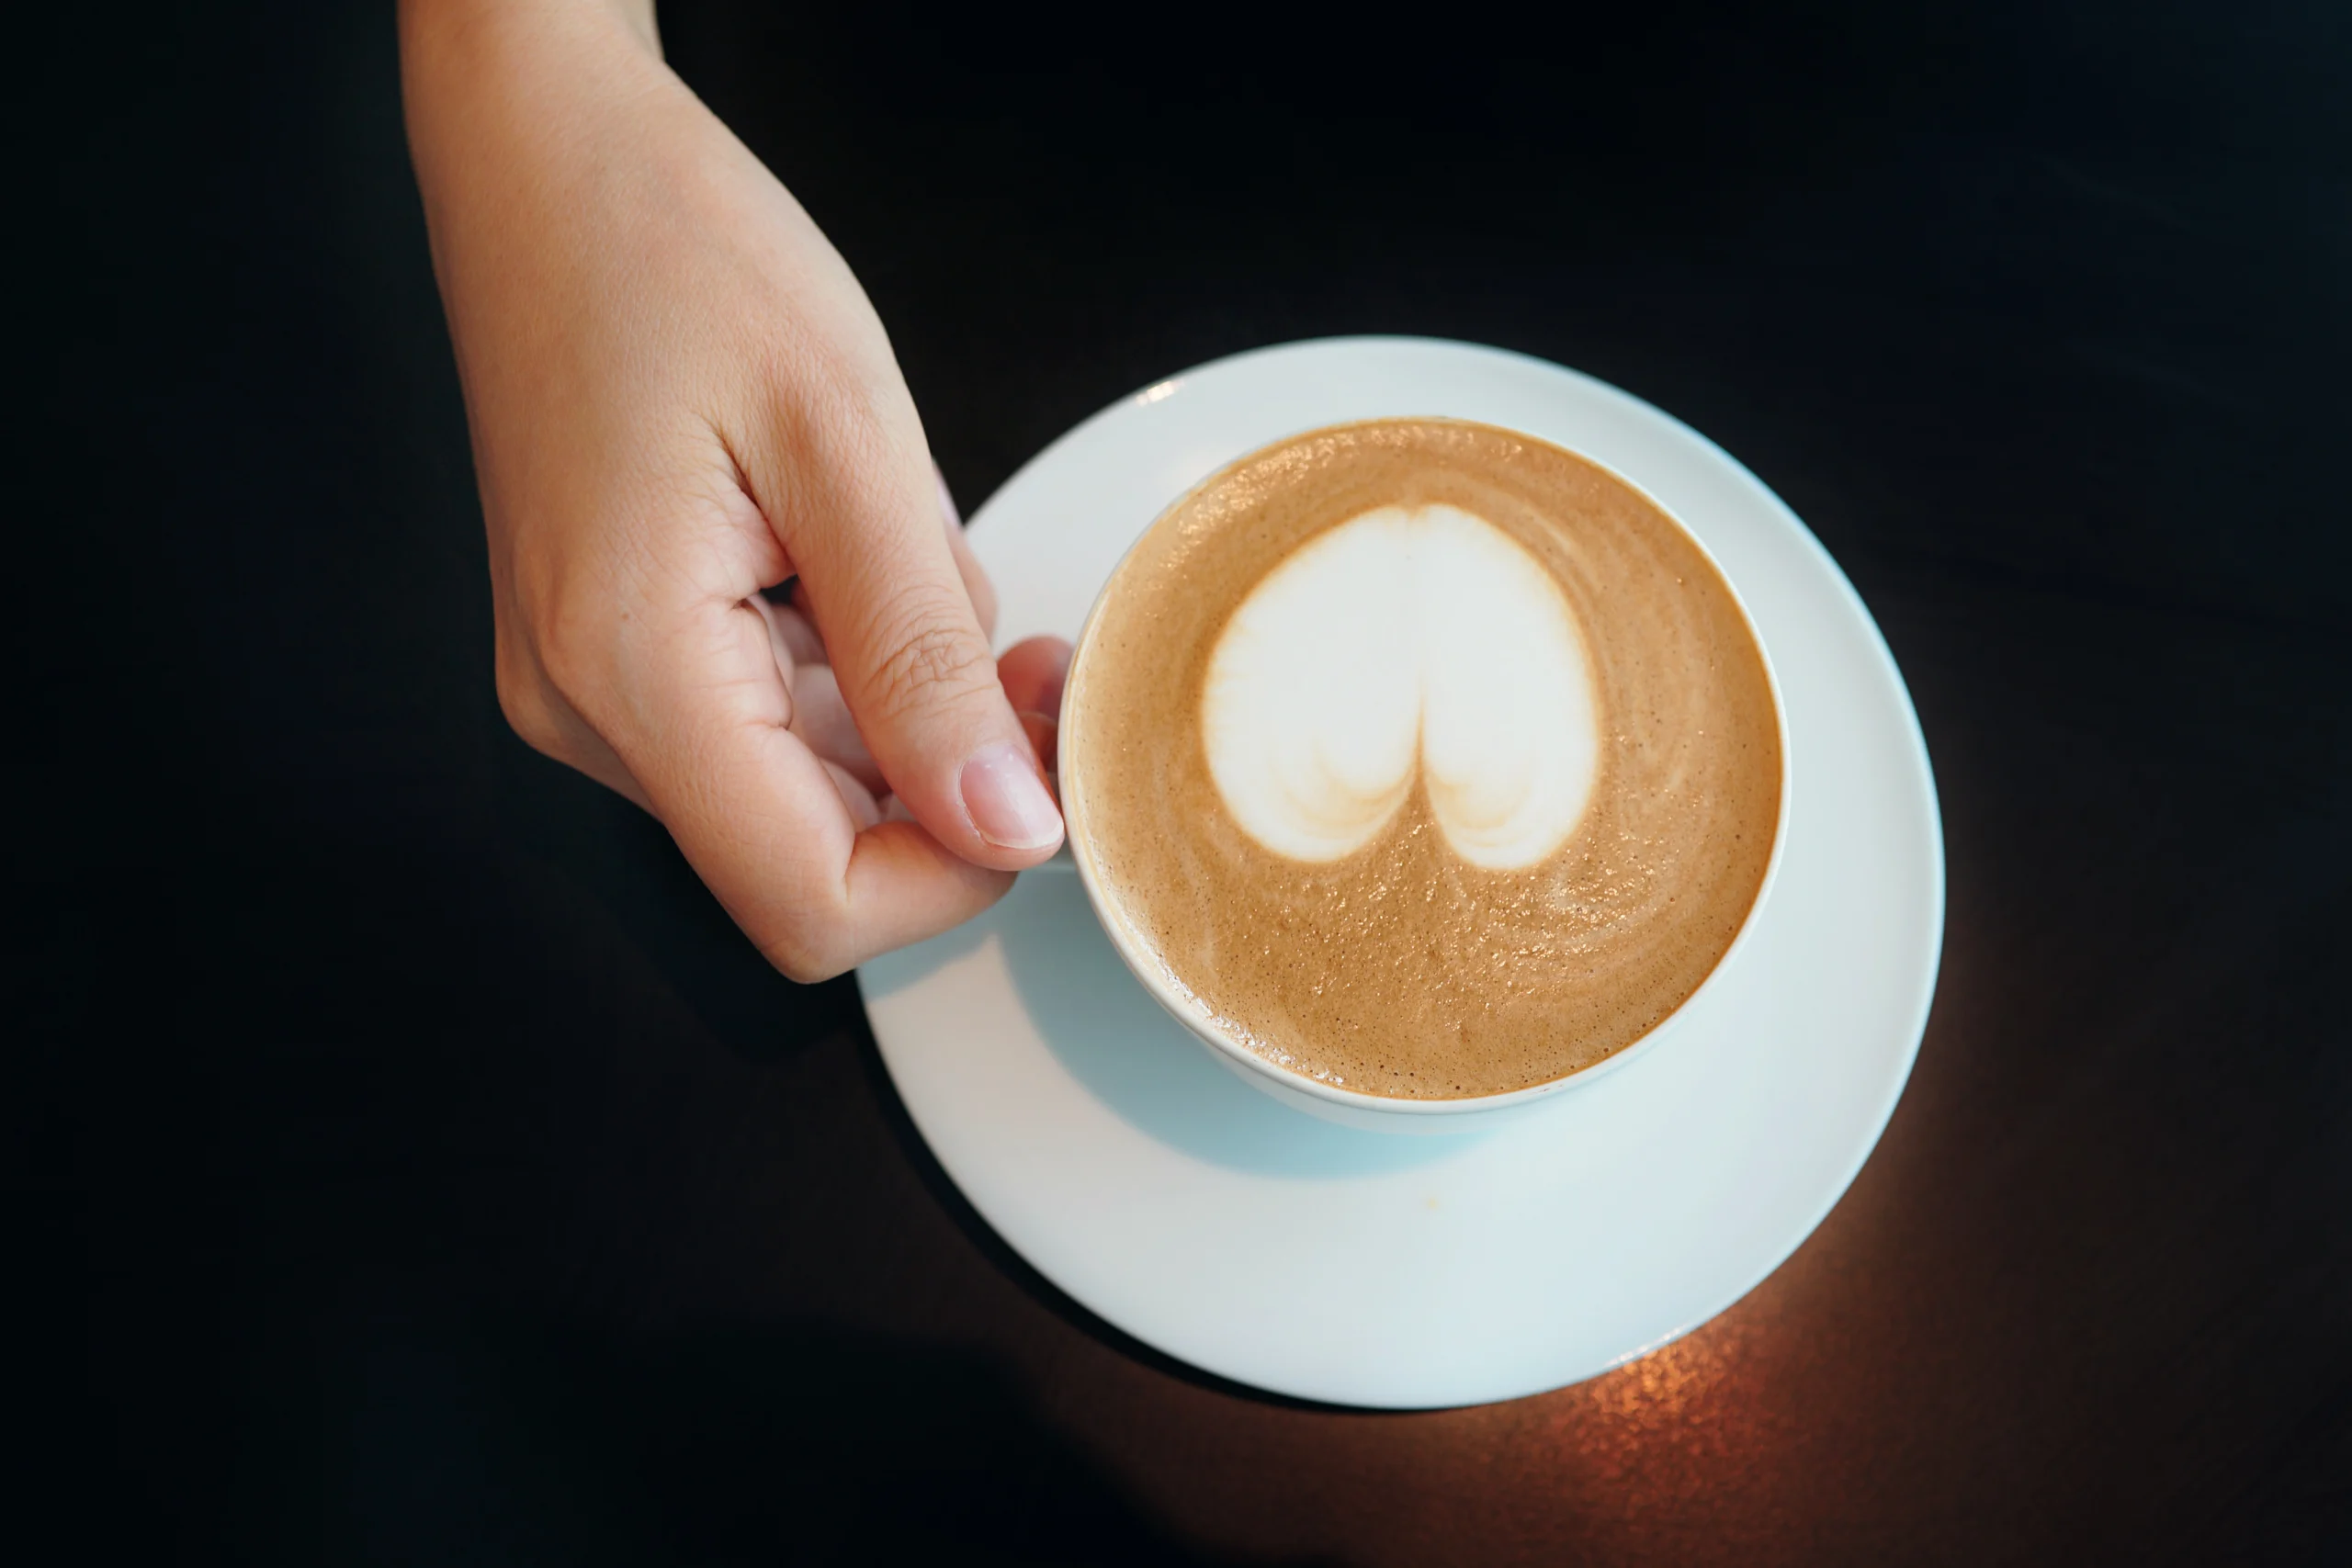
- Heart: One of the simplest designs, the heart is a great starting point for beginners. Pour the milk in a steady, slow motion and use the motion of the pitcher to form the shape of a heart.
- Rosetta: The rosetta is a more complex design that looks like a fern or a leaf. It involves moving the pitcher back and forth in a zig-zag motion while pouring.
- Tulip: This design consists of overlapping hearts and is slightly more difficult to master. It’s perfect for showcasing your pouring skills.
Tips for Mastering Latte Art
- Temperature matters: Make sure your milk is steamed to the right temperature (around 150°F/65°C). Milk that’s too hot or too cold will affect the texture and make it harder to create smooth foam.
- Consistency is key: Practice pouring with a steady hand. Consistency in your pouring technique will help you achieve better designs.
- Invest in quality tools: A good espresso machine and a high-quality frothing pitcher can make a significant difference in your latte art.
- Experiment with milk alternatives: While whole milk is the most common choice, don’t be afraid to experiment with non-dairy alternatives like oat milk, almond milk, or soy milk. Some of these milk alternatives can create beautiful foam with the right technique.
Latte art is an exciting and creative way to enhance your coffee-making experience. By learning the techniques for brewing espresso, steaming milk, and pouring with precision, you can create beautiful and impressive designs in your coffee cups. Whether you’re making a simple heart or a complex rosetta, the art of making coffee will allow you to express your creativity and skill.